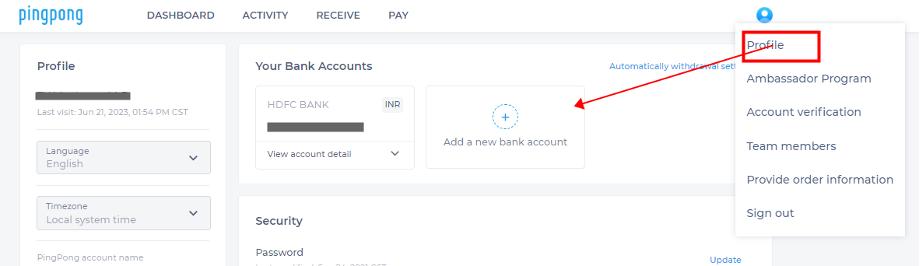
Step 1: Log in PingPong and find the human sign in the upper right corner, click the Profile to the page with beneficiary account.
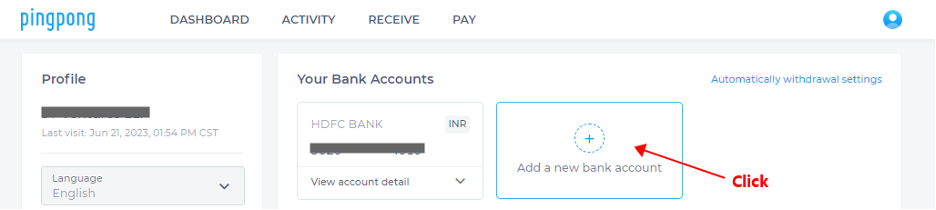
Step 2: Click “Add a new bank account” under “Your Bank Accounts”.
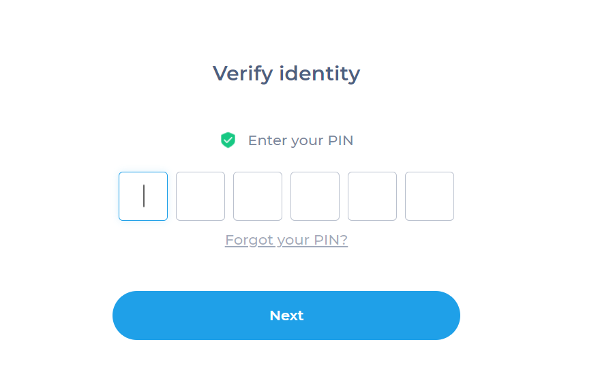
Step 3: Enter your PIN to the next step.
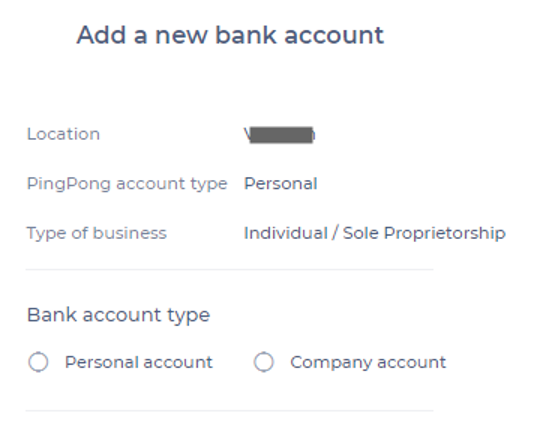
Step 4: Choose your Bank account type.
Note: If you have registered your account as a business entity, please select the "Company Account" option. If you have registered a personal PingPong account for personal use, please choose the "Personal Account" option.
Step 5: Fill in the corresponding bank account information
An important aspect for approval: Whether you are adding a personal account or a company account, ensure that the bank card information matches the registration information
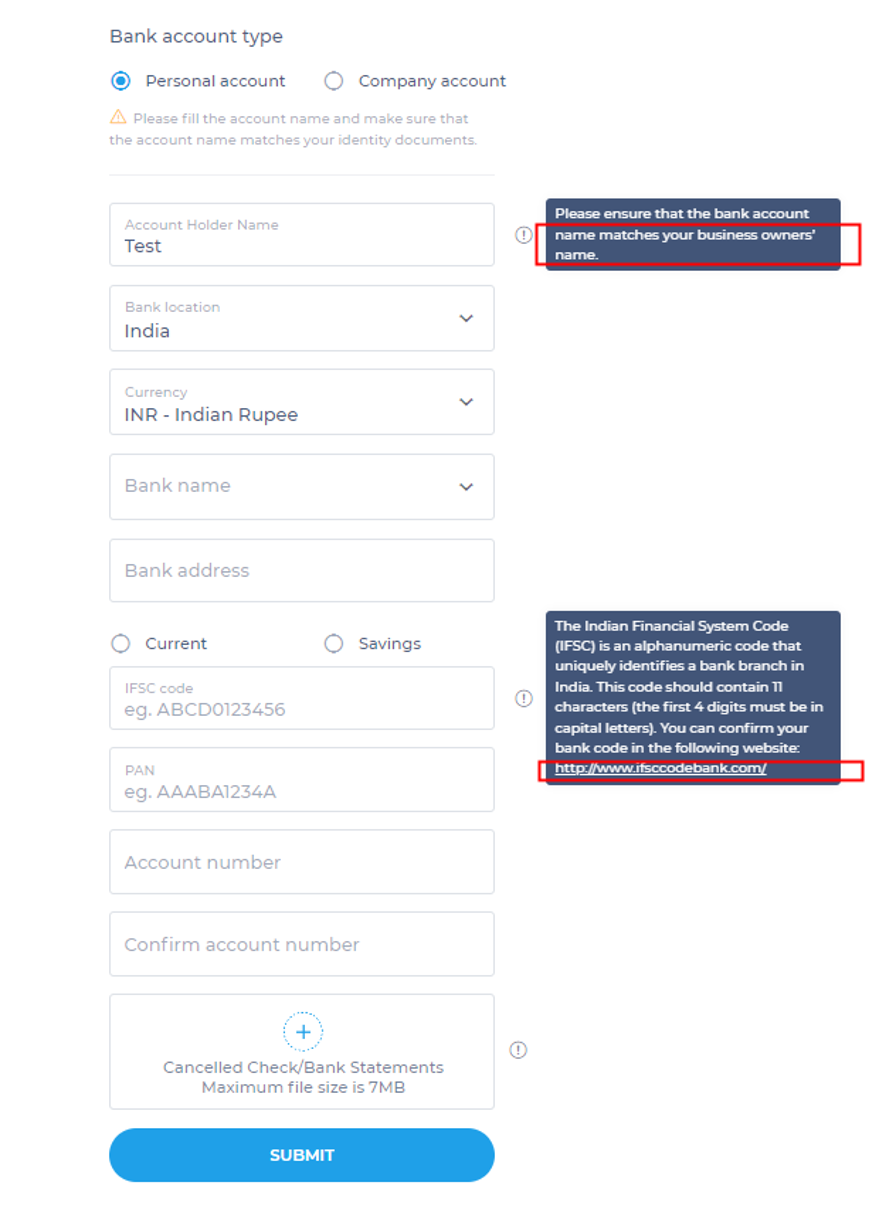
Note: Move the mouse pointer to the Exclamation mark icon, and some tips will appear for your reference
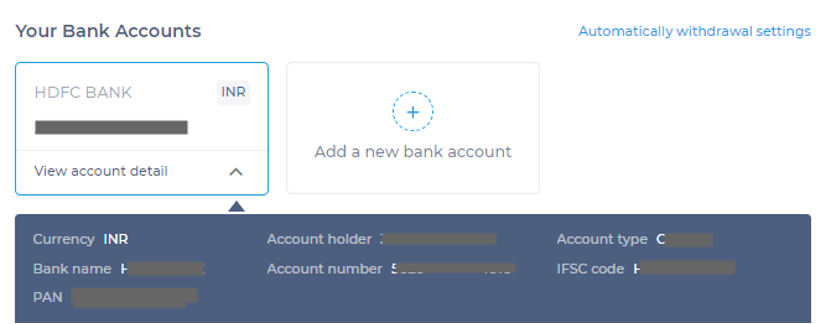
Step 5: Your BA has been added successfully! Click View account detail and check the information